JerseyEngine is installed
A free JerseyEngine account is required. Follow these steps to start using the jersey customizer on your store.
- Create a free JerseyEngine account
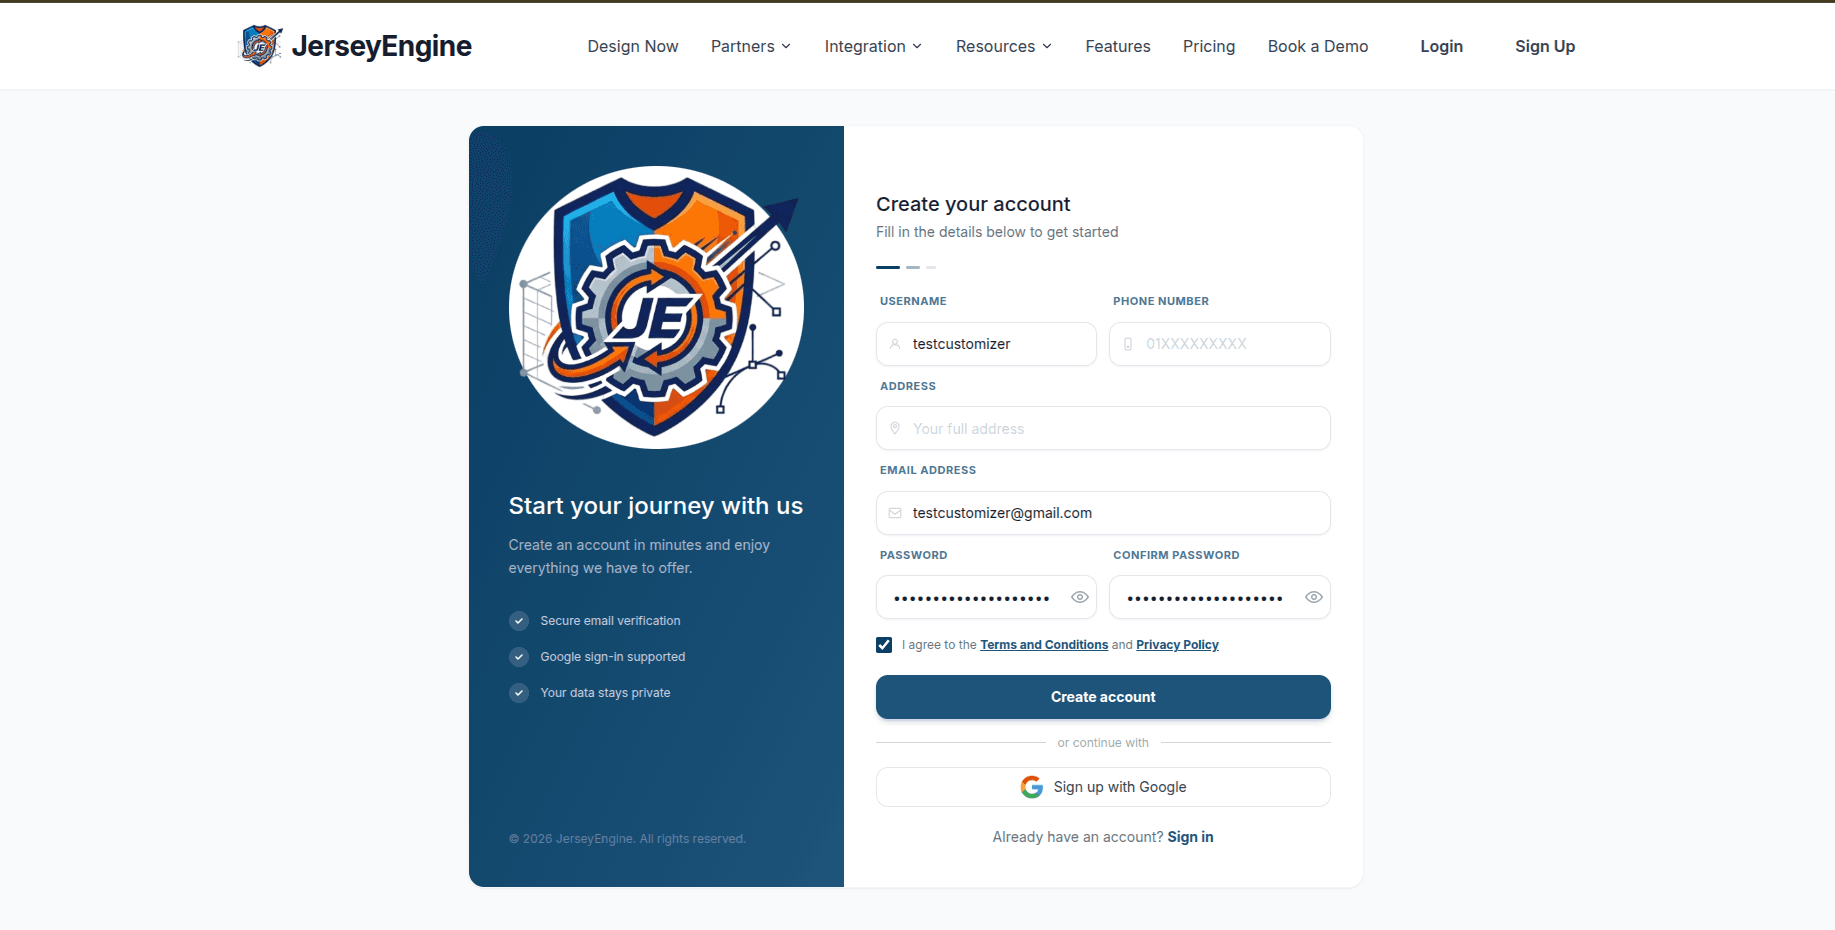
Sign up for free at jerseyengine.com and log in.
Sign up at jerseyengine.com - Find your Agency ID and Email
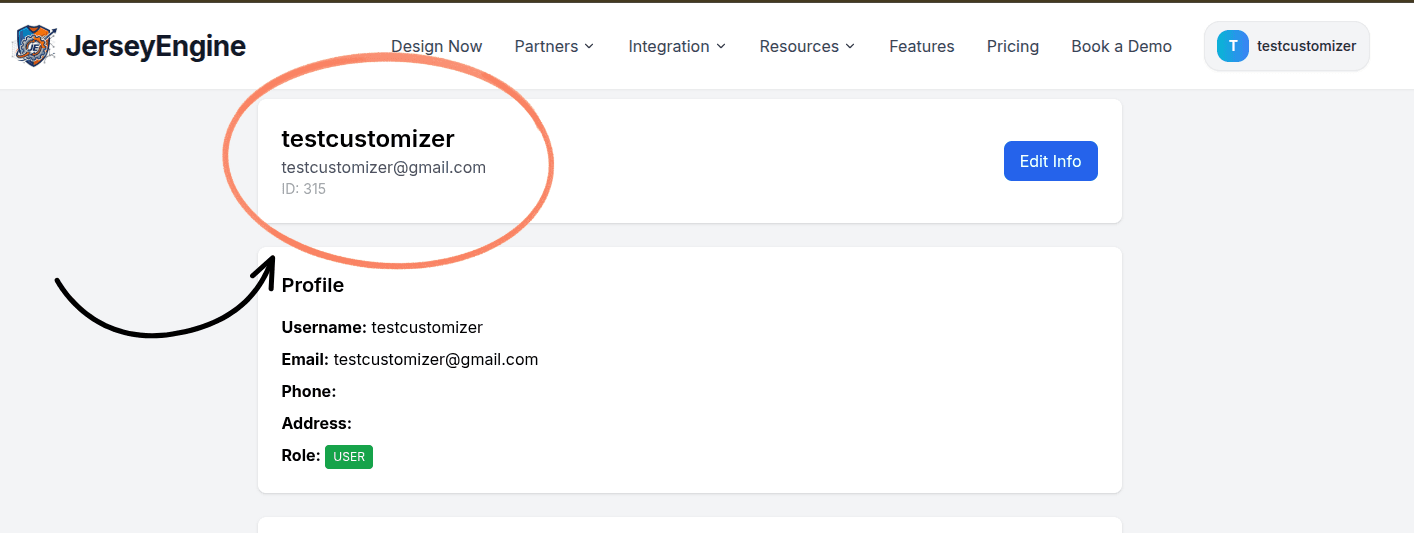
Open your Profile. Your User ID is your Agency ID. Your Agency Email is the email you used to sign up.
- Enter them in the app embed
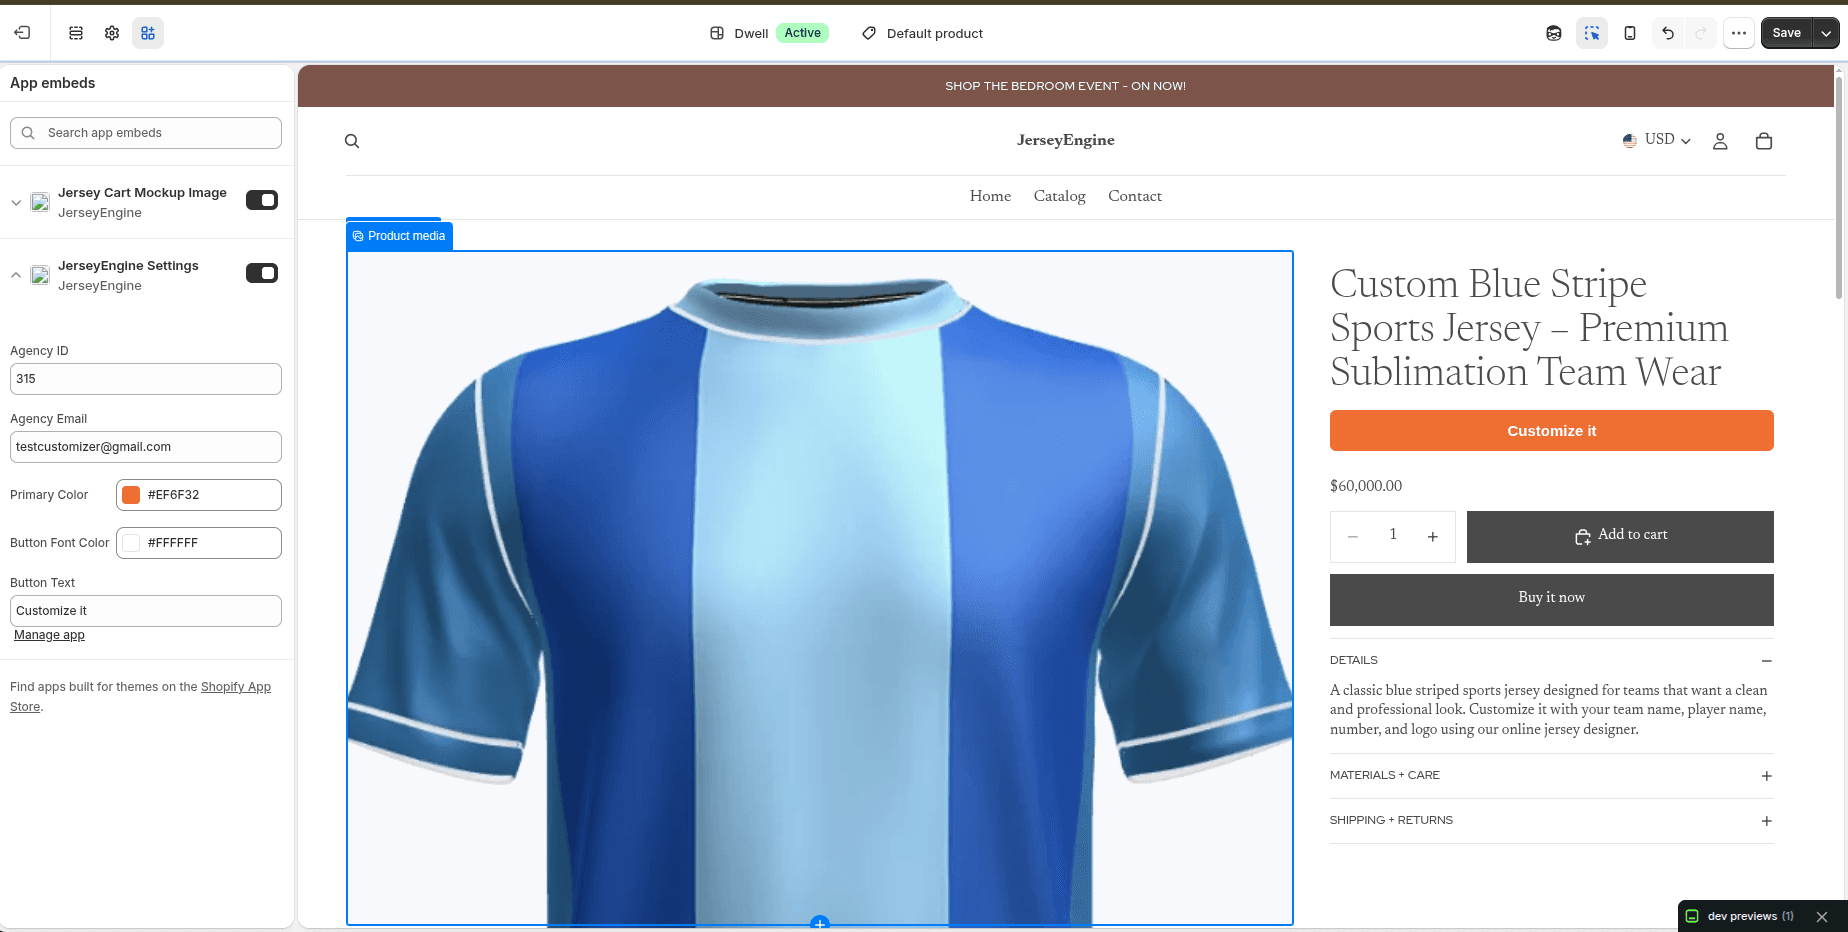
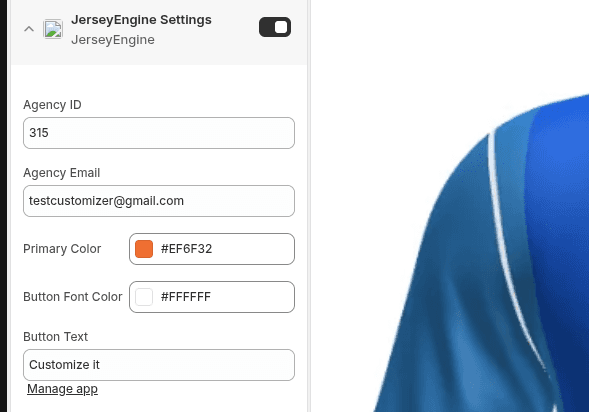
In Shopify go to Online Store → Themes → Customize → App embeds. Turn on “JerseyEngine Settings”, paste your Agency ID and Agency Email, then click Save. The Customize button works only after you save.
- Choose a Template ID
Pick one of the sample Template IDs below to test your setup right away.
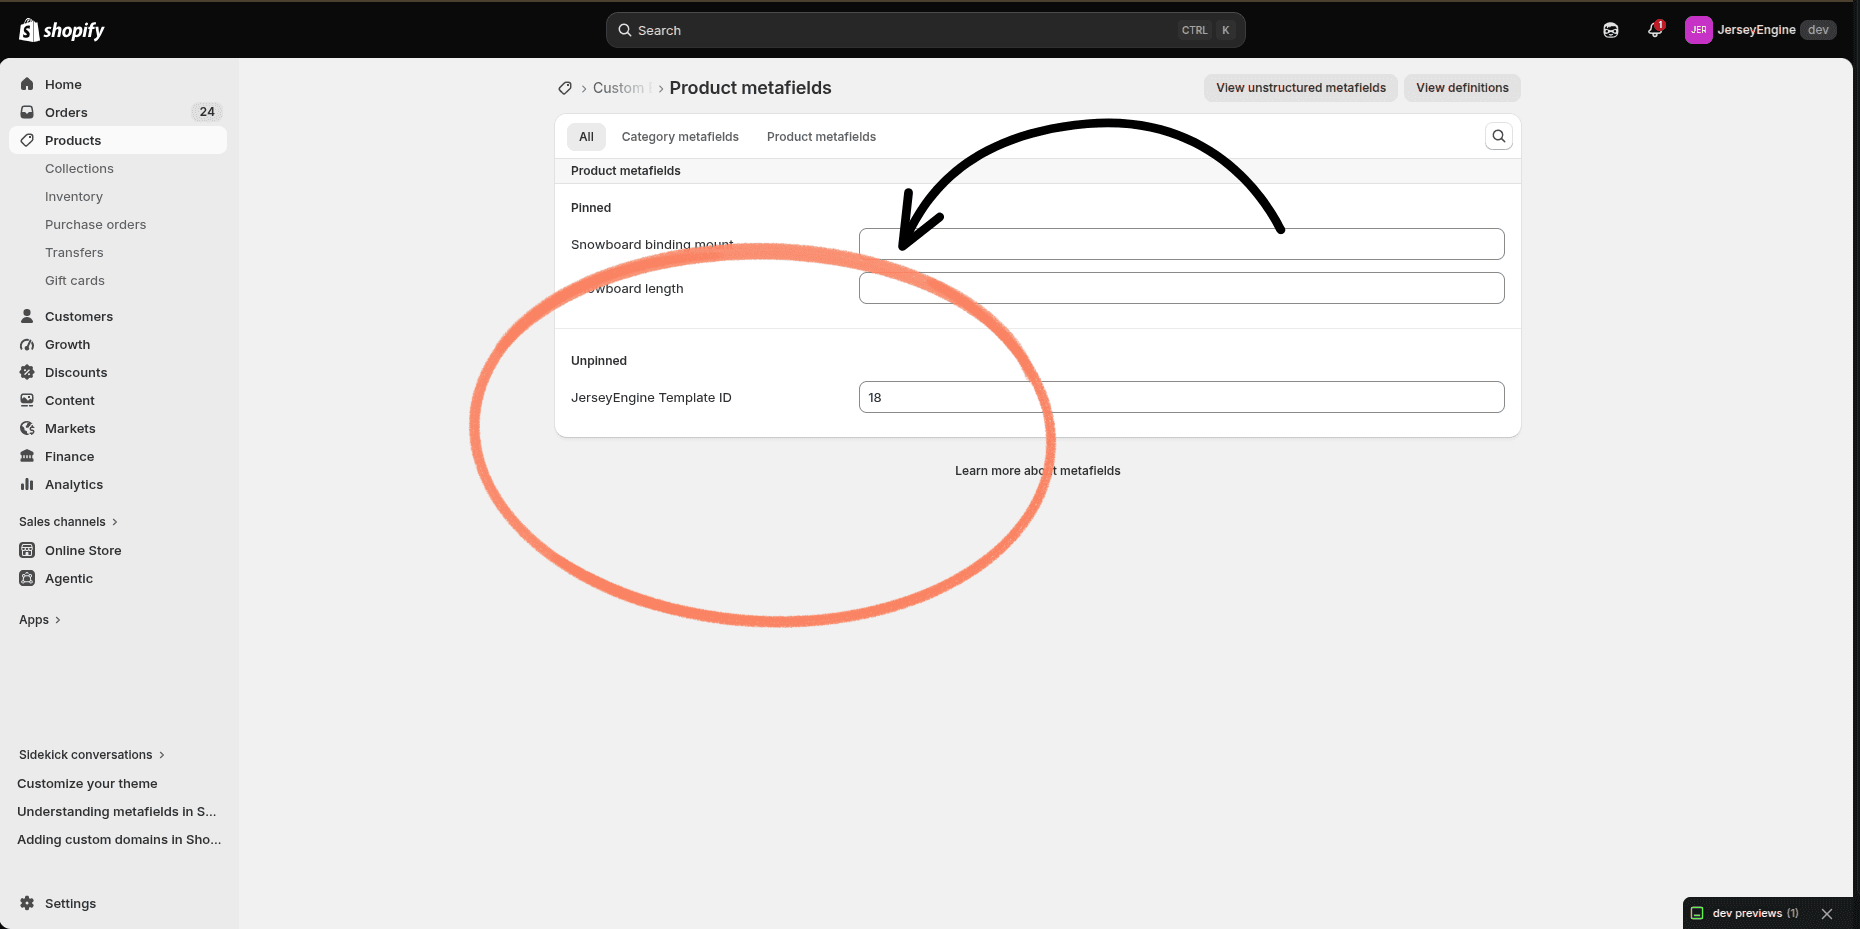
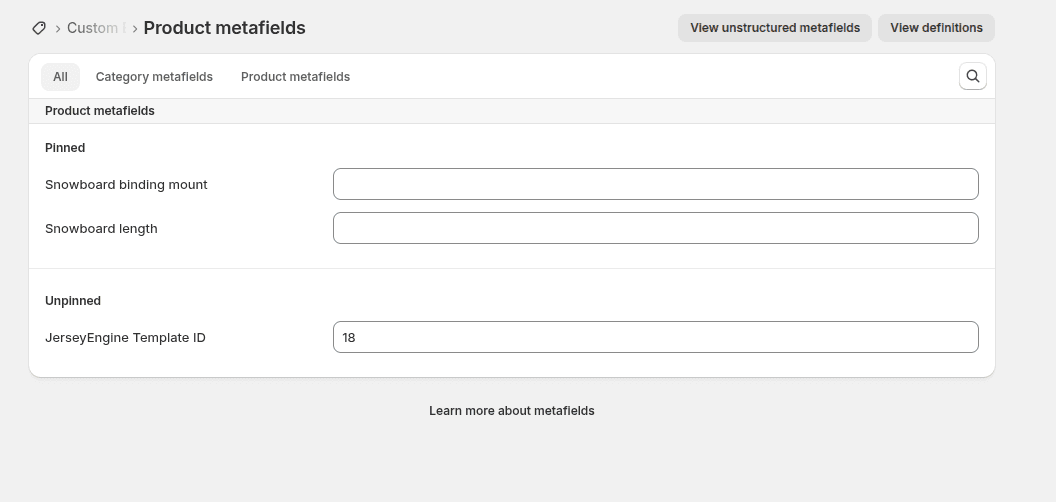
Copy any ID below and paste it into the “JerseyEngine Template ID” product metafield.
Template ID Template 18Round Neck Jersey 15Full Sleeve Jersey 40V-Neck Jersey 37Baseball Jersey Want your own jersey design? Send us your template and we will set it up and give you its Template ID. Contact us · hello@jerseyengine.com
- Set the Template ID on a product
Shopify admin → Products → open a product → Metafields → “JerseyEngine Template ID” → paste the ID → Save. The button will show only on products that have a Template ID.
- Add the button to your product page
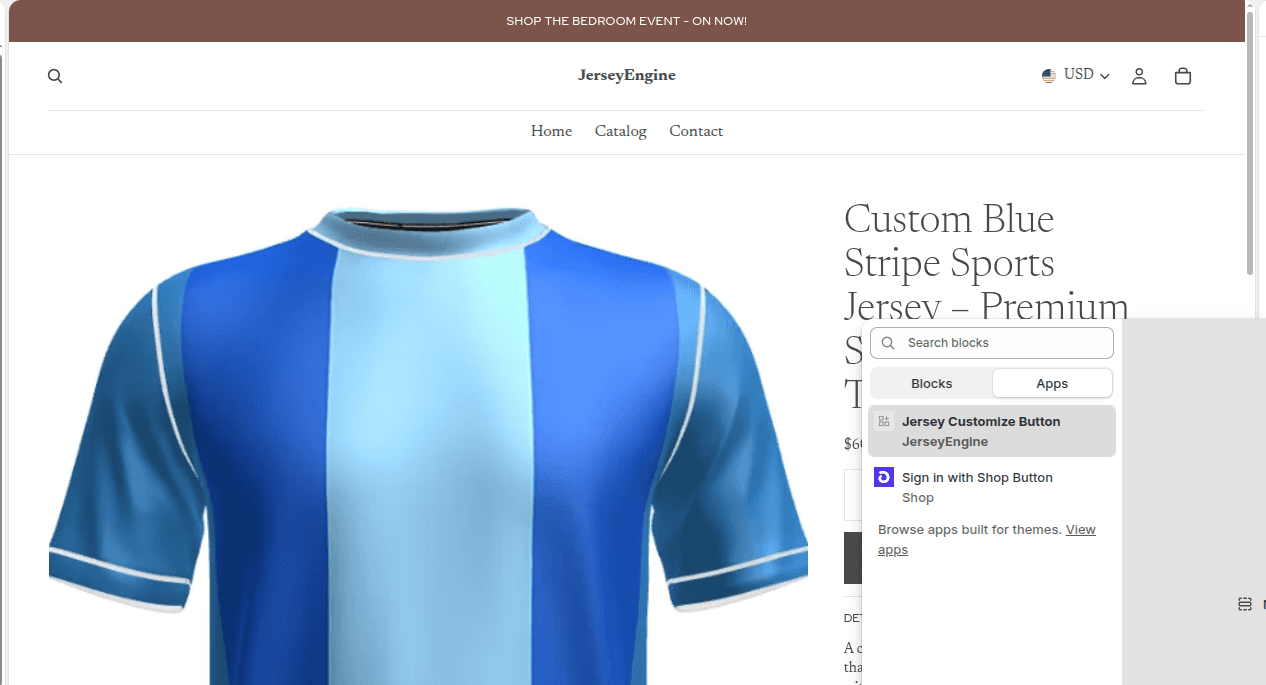
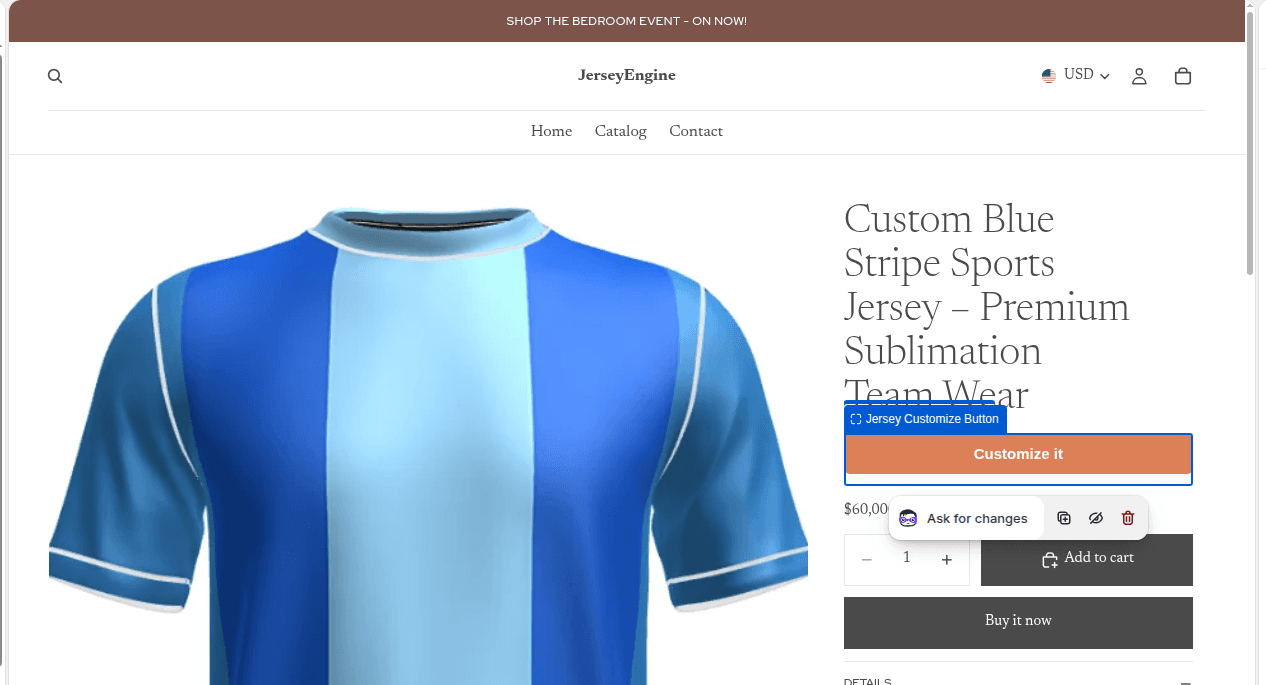
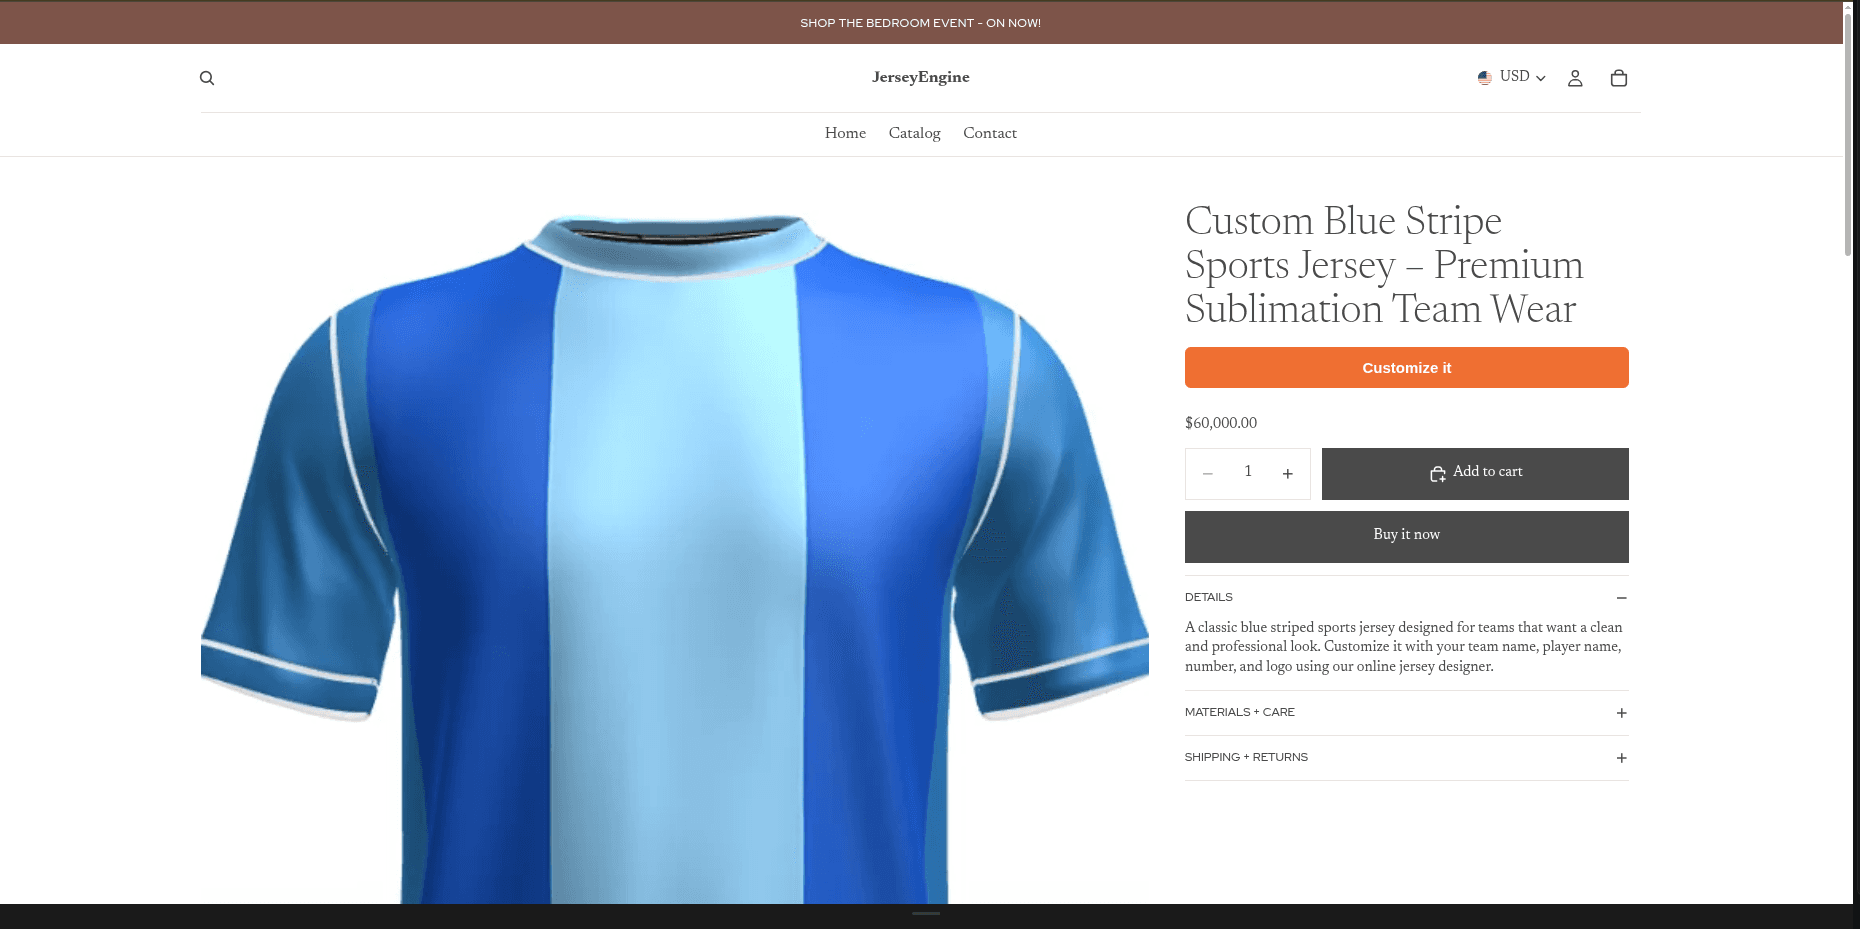
Theme editor → Product template → Add block → Apps → “Jersey Customize Button” → Save. In the editor, preview the same product you added the Template ID to. You will see the button there.
- Open the customizer and design your jersey
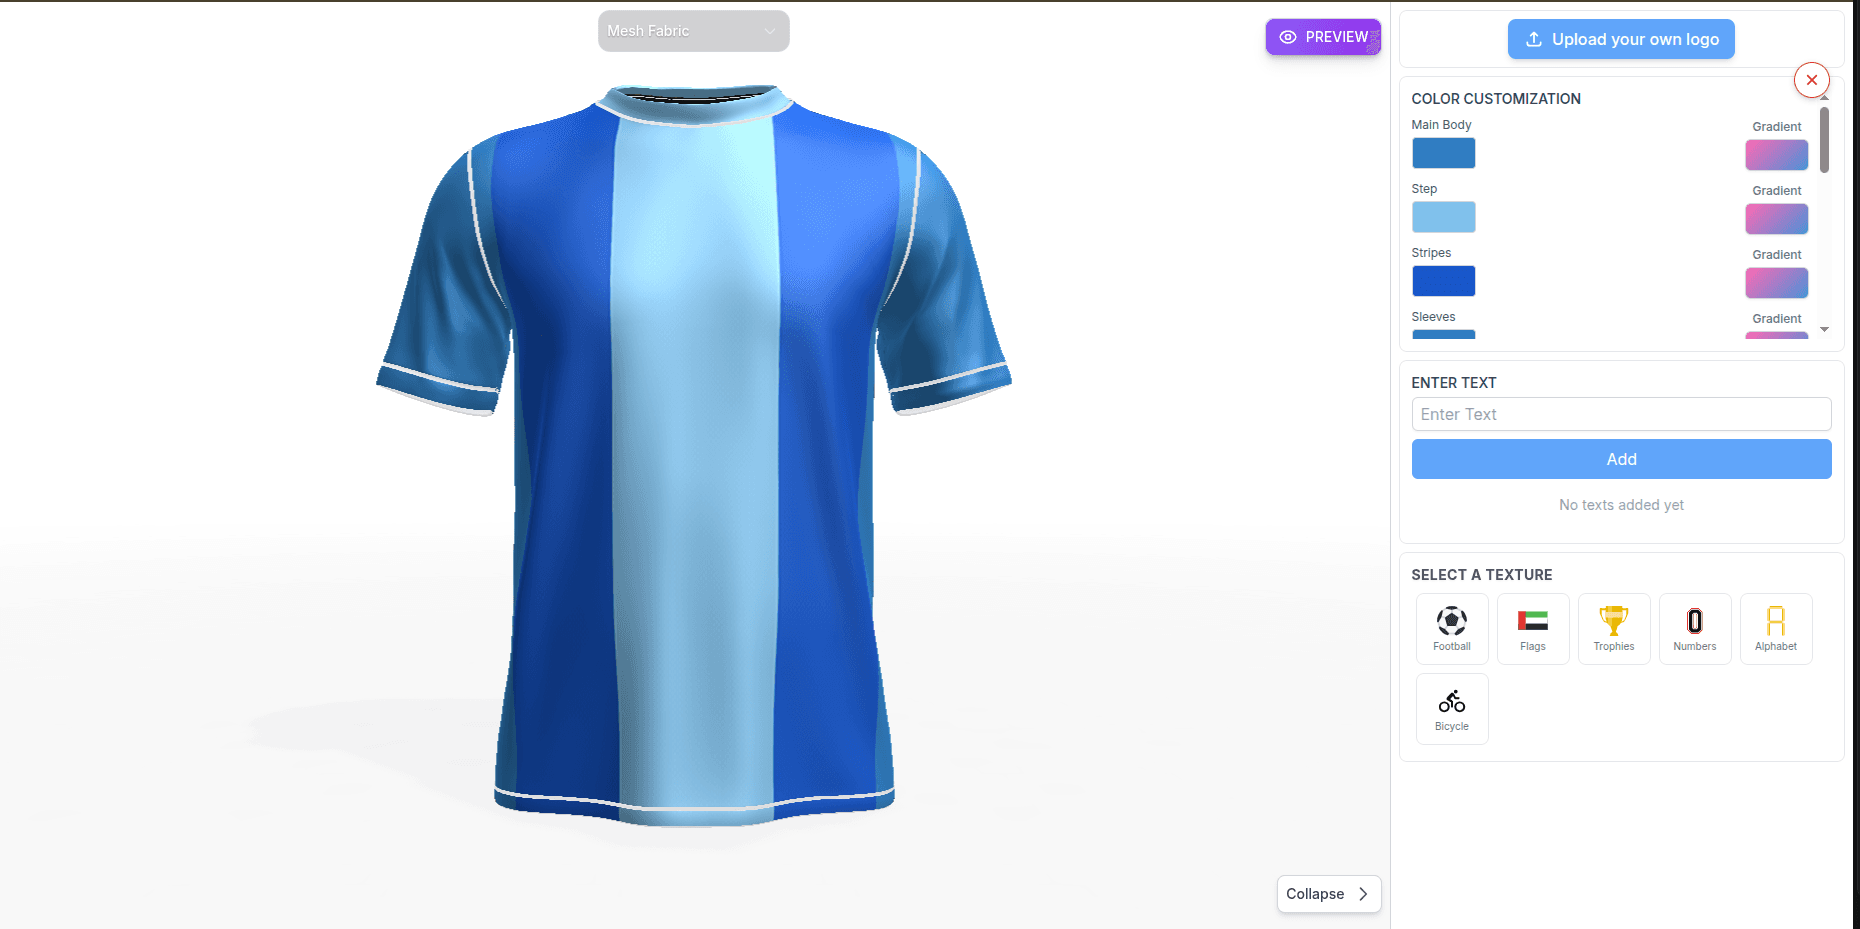
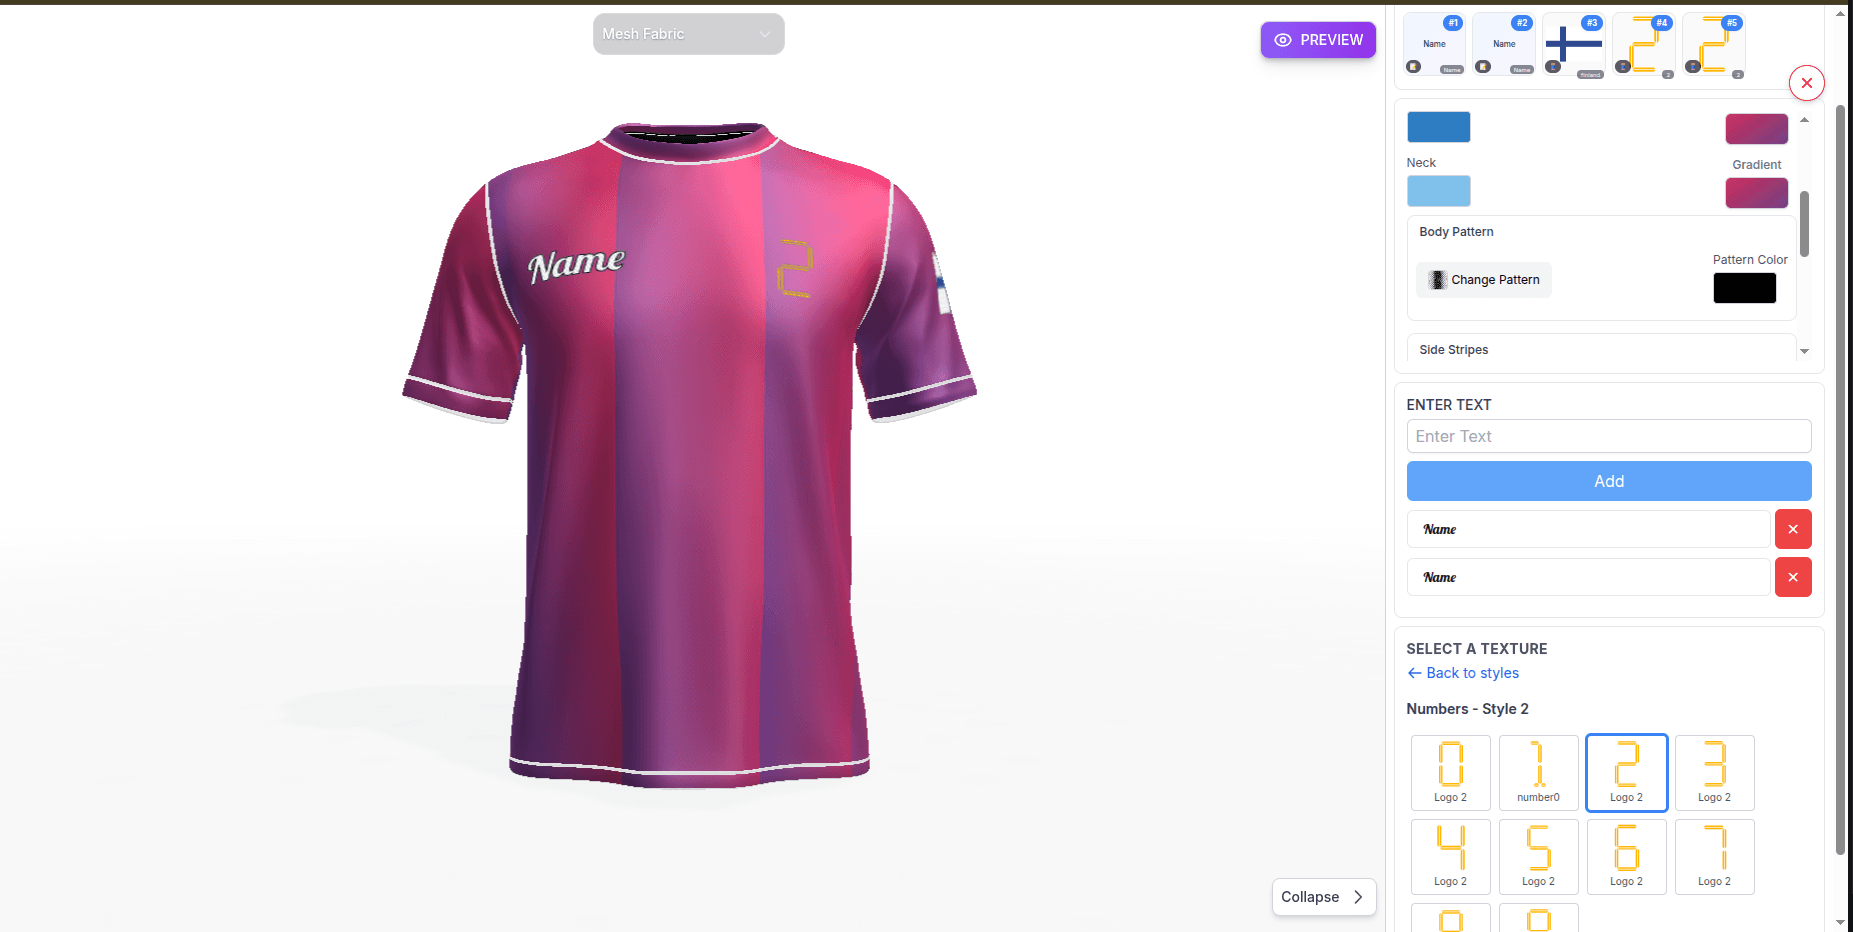
Open the product page and click the customizer button. Choose colors, add text and logos, and design the jersey in the editor. When you finish your design, click Preview to review how your jersey looks.
- Add your team roster or continue with a single jersey
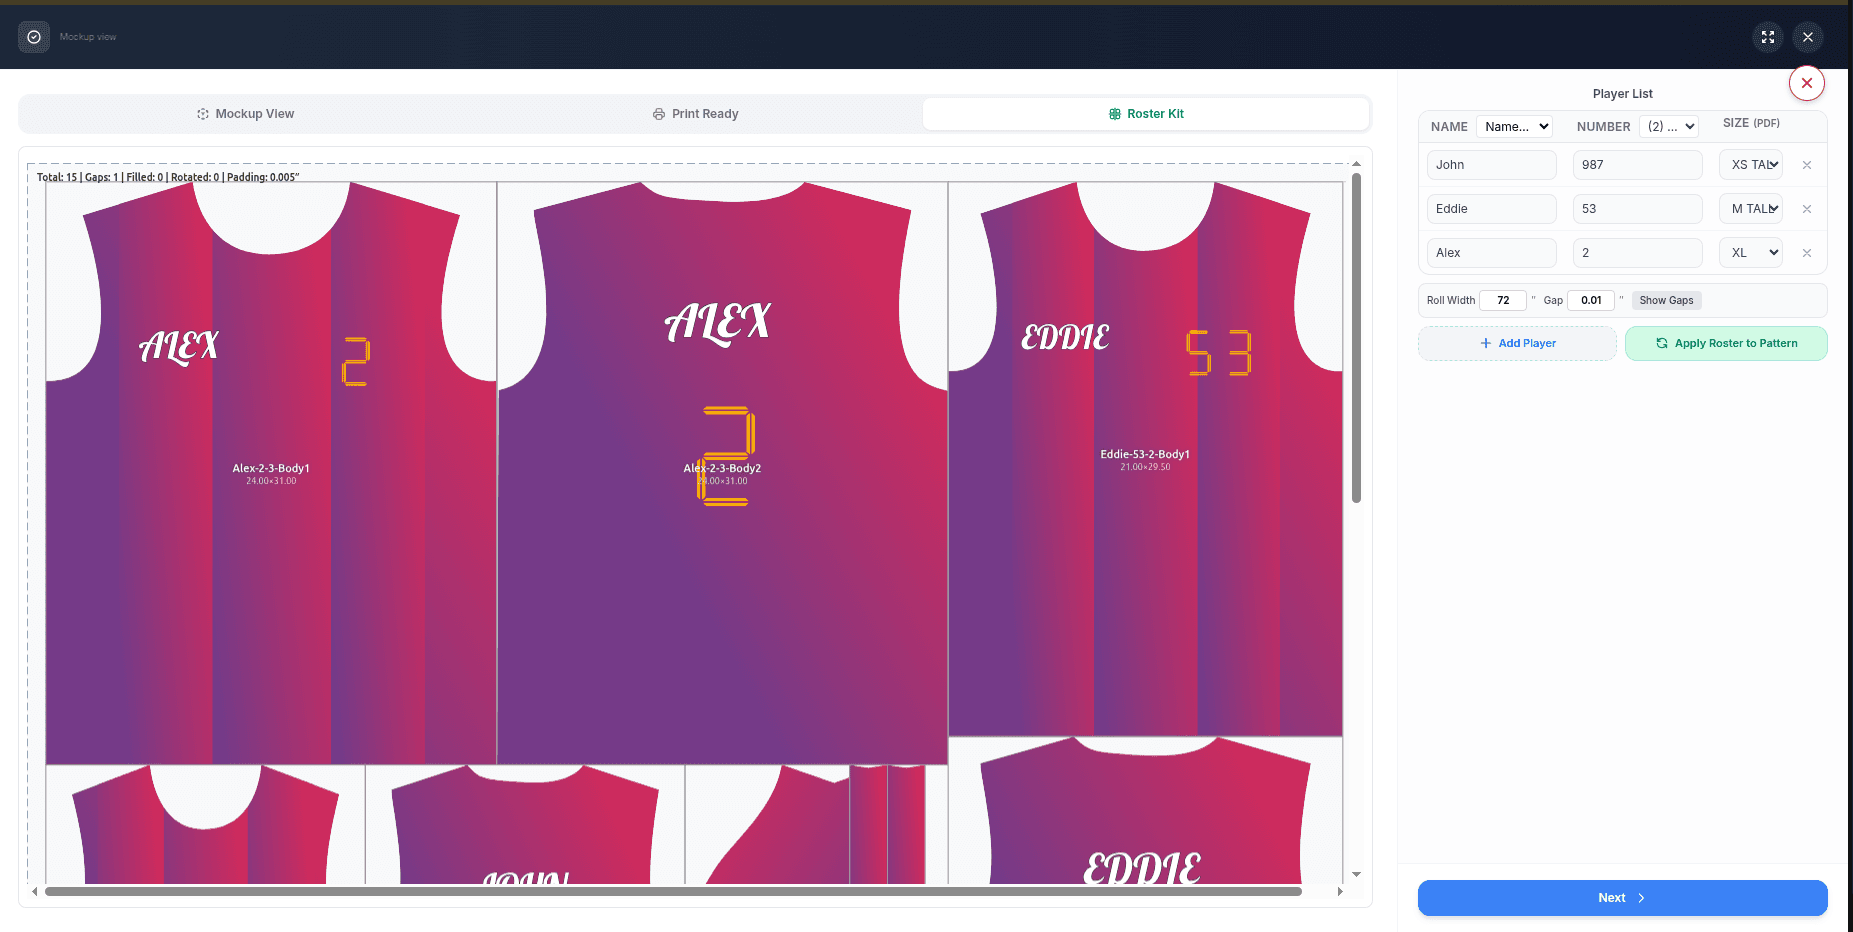
If you are ordering jerseys for a team, enter each player's Name, Number and Size in the team roster. If you only want a single jersey, you can skip the roster and click Next after Preview.
- Add to cart
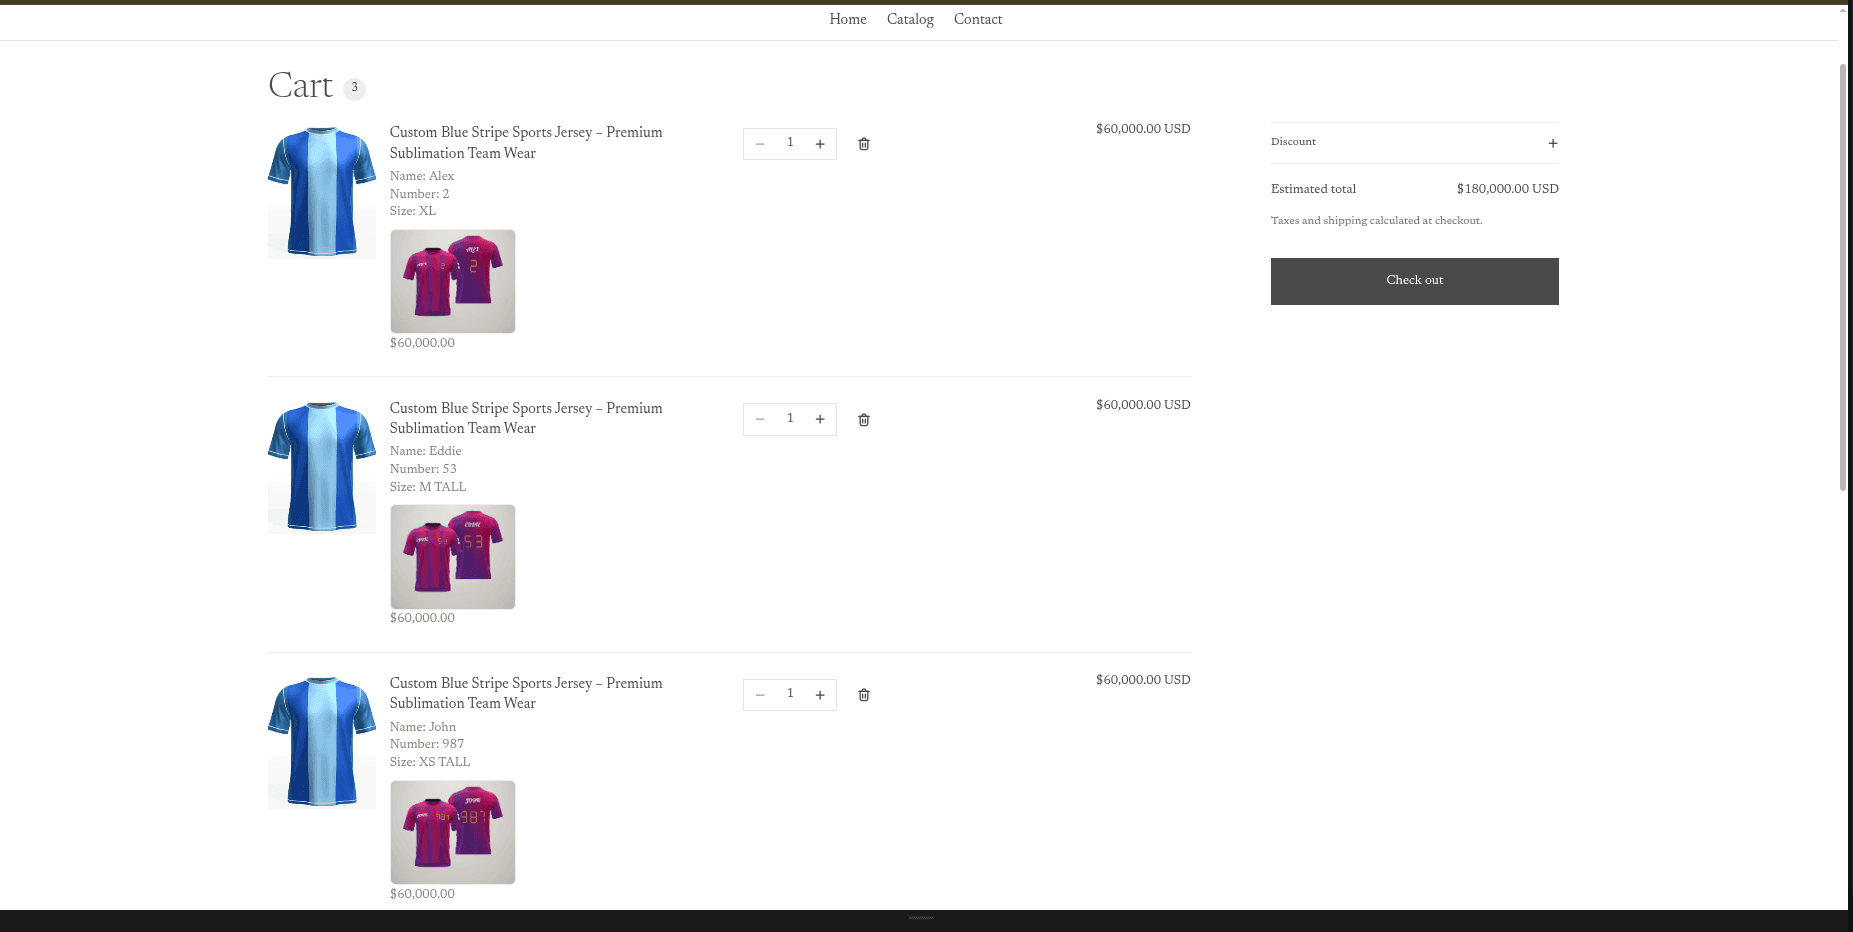
After clicking Next you return to the product page. Click the store's Add to cart button. Every player is added to the cart as a separate item with their own Name, Number and Size.
- Checkout
Go to the cart, review all the items and complete the checkout. The order is placed in your Shopify store as usual.
- View the order in Shopify admin
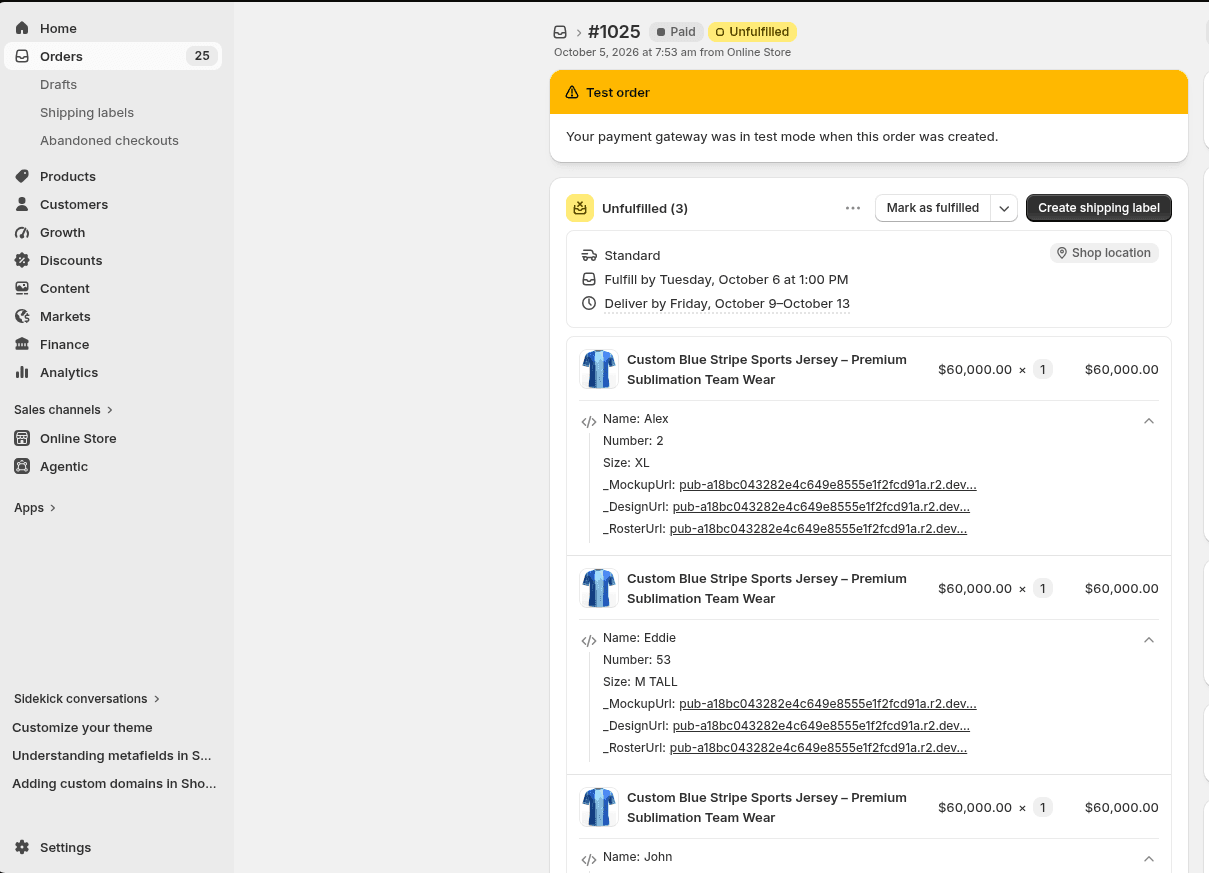
Open Shopify admin → Orders → select the order. Under each item you can see the player's Name, Number and Size, plus links to the mockup PNG, the design SVG and the team roster.
Need help? hello@jerseyengine.com